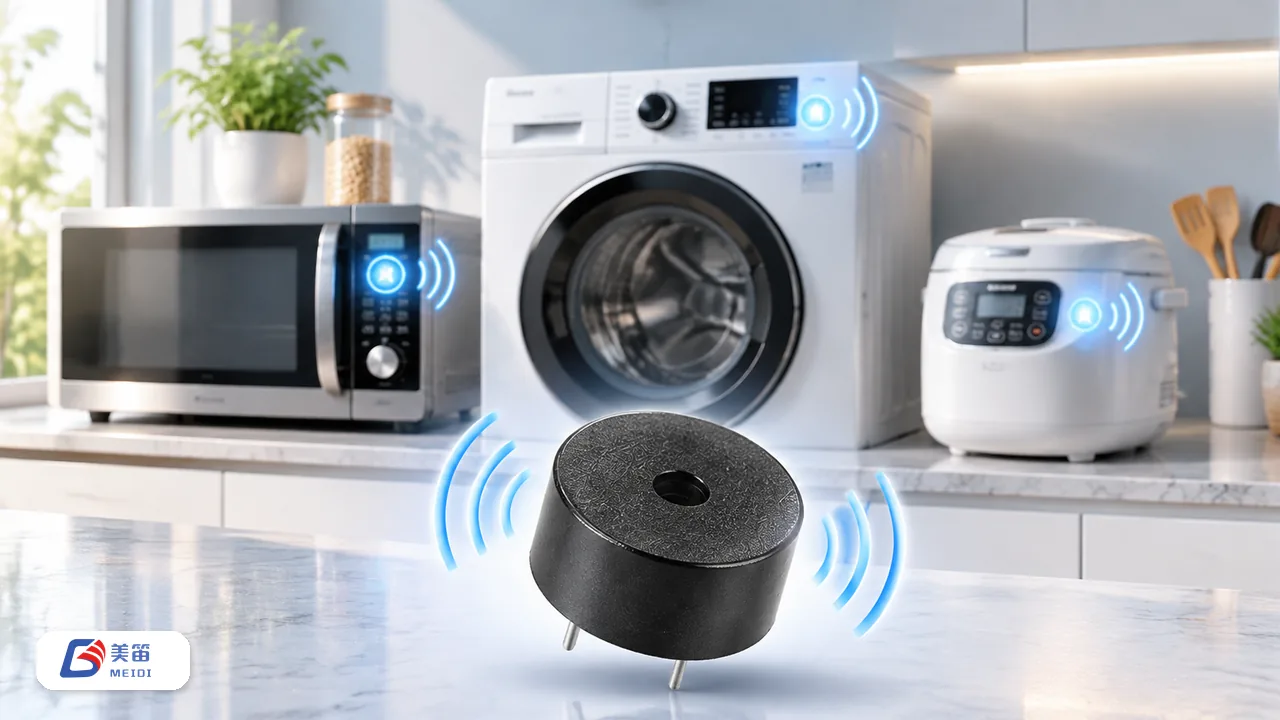
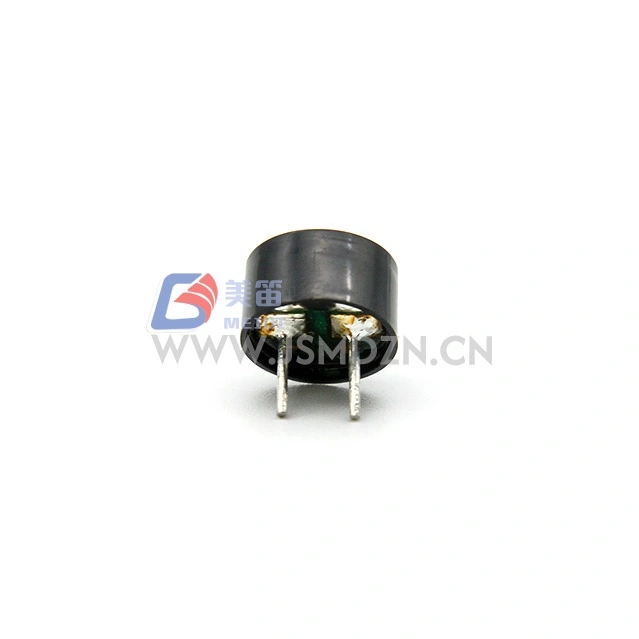
A buzzer is one of the simplest components on a bill of materials, yet a single dead part can silence an entire alarm, keypad, or medical alert. Knowing how to test a buzzer before it reaches the board — and how to troubleshoot a unit that has gone quiet in the field — saves rework, returns, and warranty cost. This guide walks through three practical ways to test a buzzer, the numbers that matter, and a decision flow you can apply to any electromagnetic or piezoelectric device you specify.
The examples below use verified MEIDI production buzzers, but every method applies to any component you source. For the circuit side of the same topic, see our buzzer wiring and drive guide.
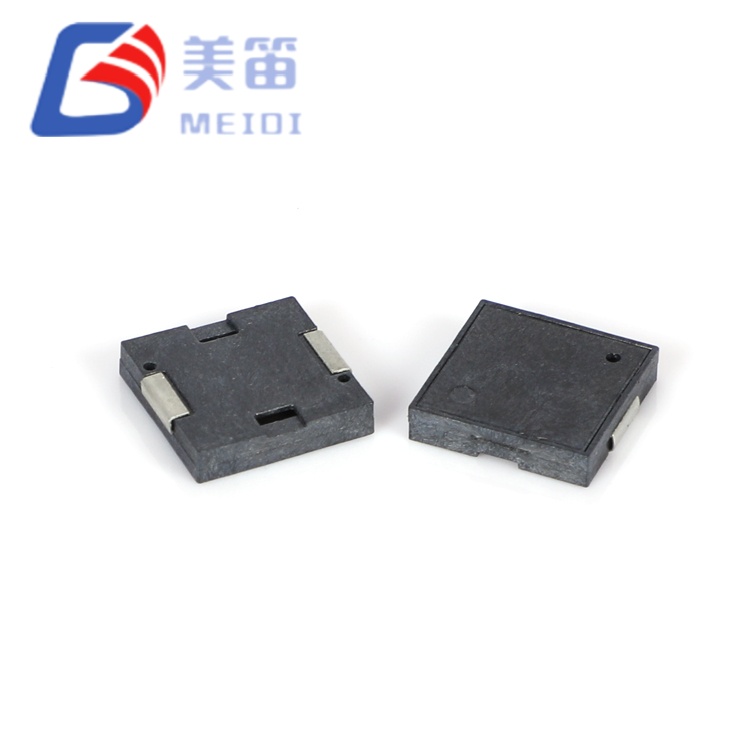
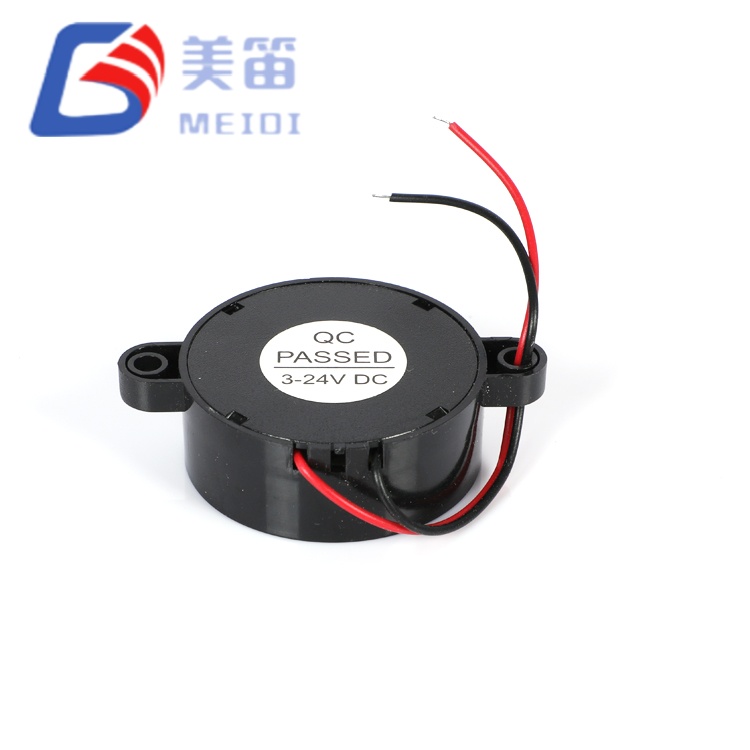
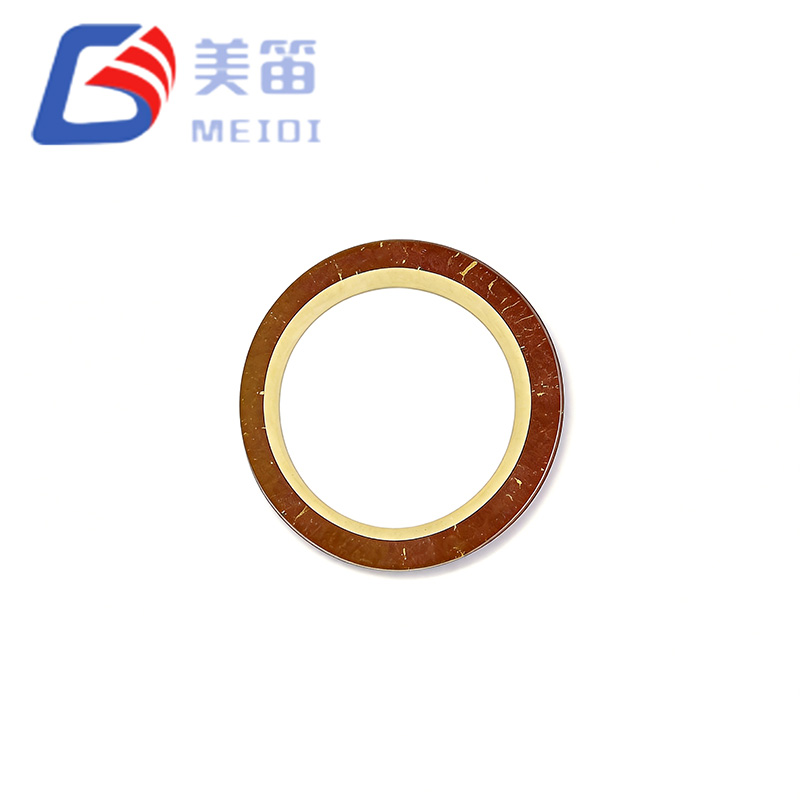
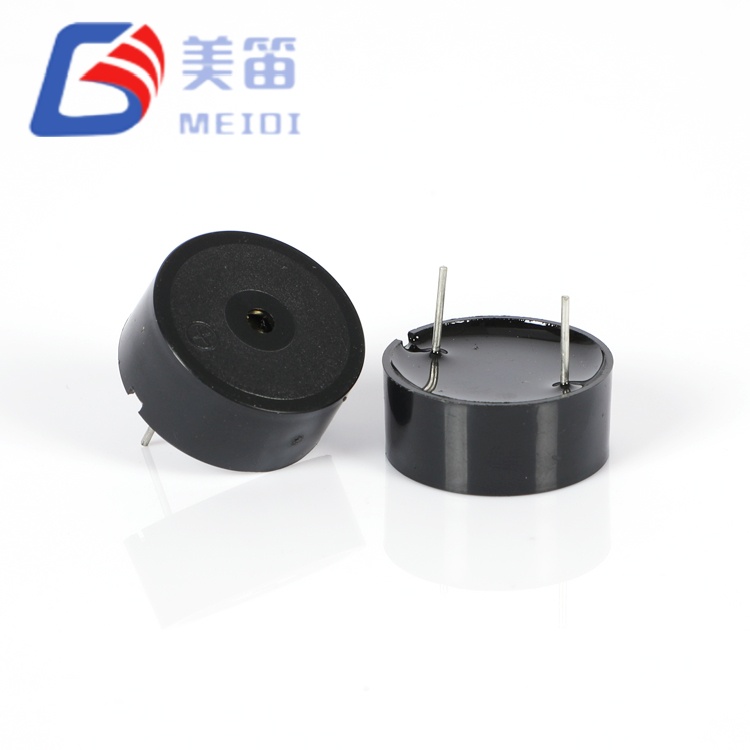
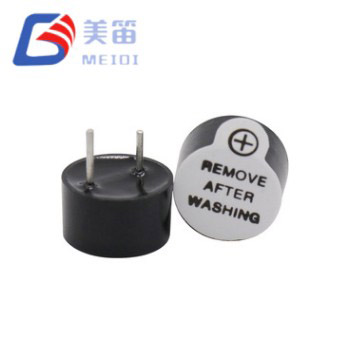
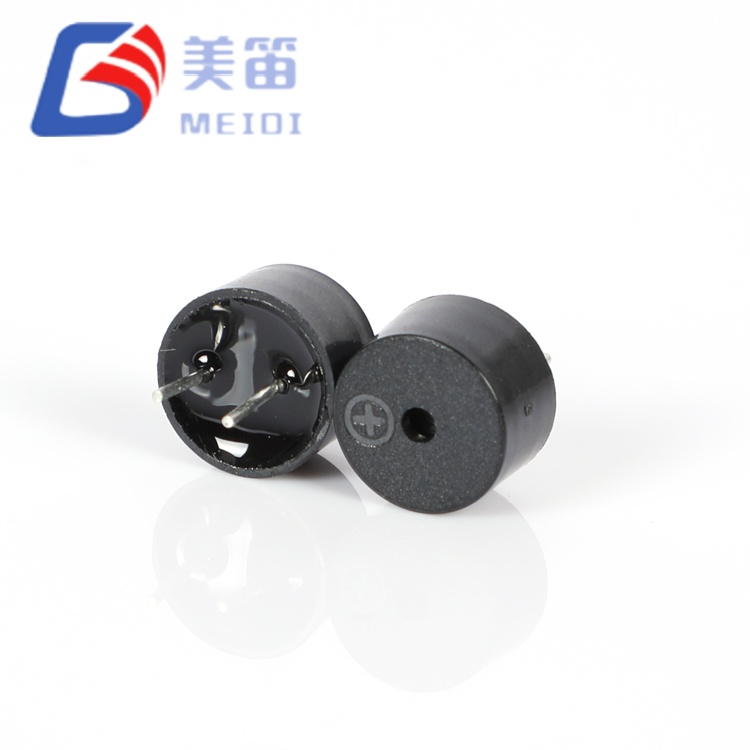
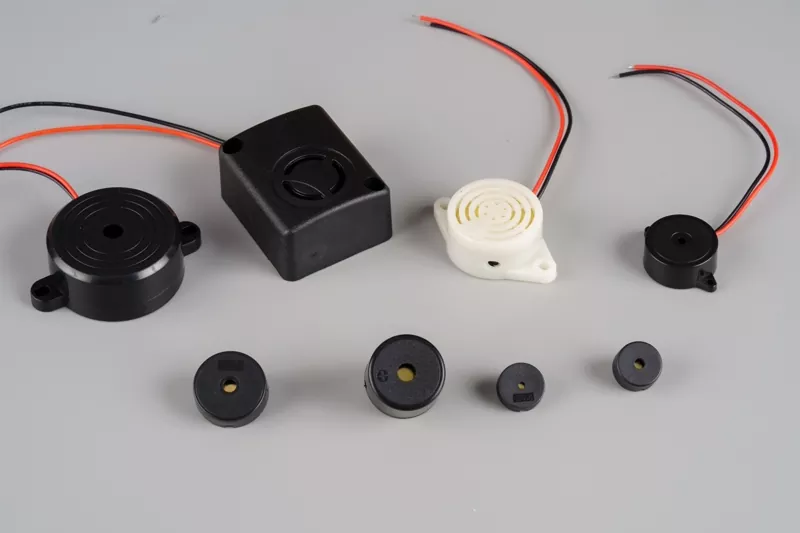
 MEIDI buzzer families on the production line — the parts this guide shows you how to verify.
Testing a unit falls into three moments in a product's life. Incoming quality control catches shipping damage and batch drift before the buzzer is placed. Prototype validation confirms the tone and loudness are right inside the final enclosure, not just on a bare board. Field troubleshooting isolates whether a silent alarm is the device, the driver circuit, or the firmware. A five-minute buzzer test at any of these stages is cheaper than a recall or a returned shipment of finished goods.
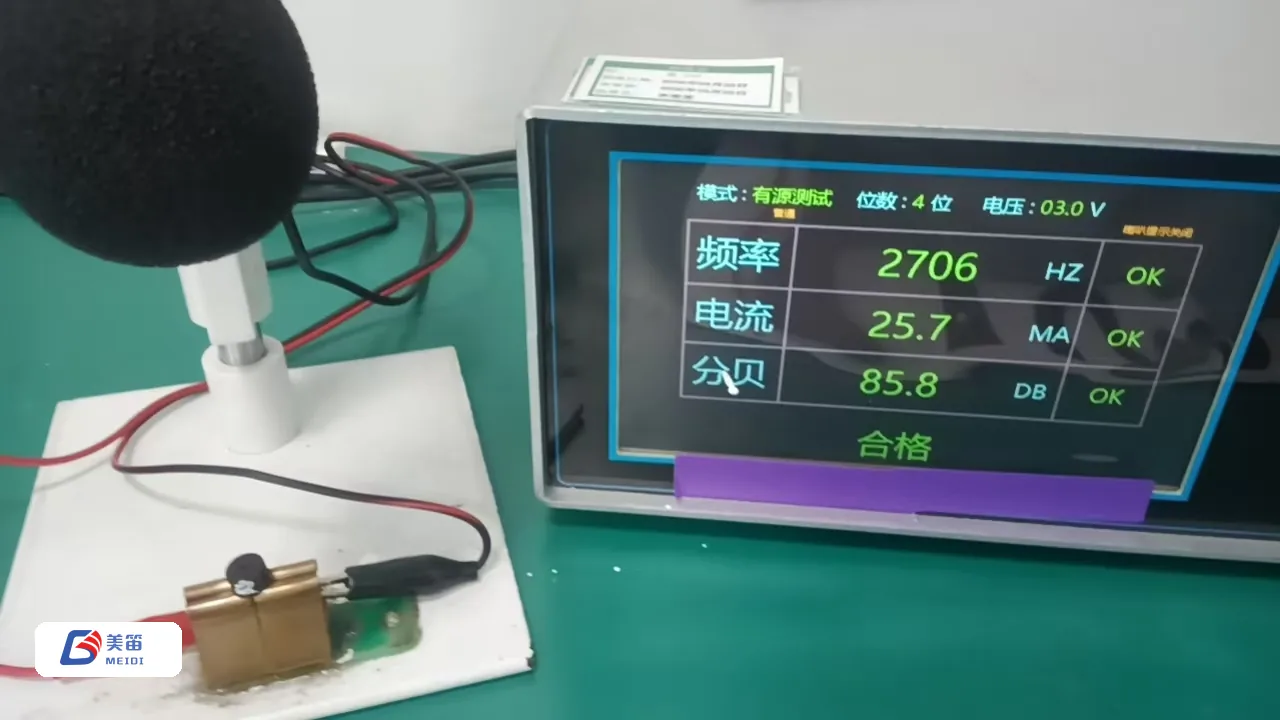
Most component checks need only a digital multimeter and a clean DC source at the rated voltage — a lab supply, or simply a battery of the right voltage for quick bench work. An oscilloscope helps when you must verify the buzzer frequency or confirm a PWM drive is actually reaching the part. A sound-level meter is optional but useful if the complaint is "too quiet" rather than "no sound" from the buzzer.
Set the multimeter to continuity first. A healthy unit shows a closed circuit; an open reading means a broken coil on a magnetic buzzer or a cracked ceramic element on a piezoelectric device, and that buzzer should be rejected. Then switch to the resistance range to learn more about the component under test.
These buzzers contain a coil, so they read a finite DC resistance — typically in the tens of ohms. A reading of zero ohms points to a shorted coil in the part; infinite ohms means an open coil. Either way the buzzer will not work. Always compare the measured value against the equivalent resistance listed on the unit datasheet.
A piezo device is a capacitor, not a coil, so a standard resistance reading looks very high or open. That is normal for this kind of buzzer. To check a piezo component, measure its capacitance on a capacitance range; a value far from the rated capacitance suggests a damaged ceramic inside the part. If your meter lacks a capacitance function, move straight to the power-on buzzer test below.
Apply the rated voltage from a current-limited supply and listen. This is the most direct verdict for a unit, but the result depends on the drive type of the buzzer.
An active buzzer has a built-in oscillator, so connecting the correct DC voltage makes the device beep immediately. The MEIDI TMB12A05 (5 V, 3–7 V range, 2400 ± 300 Hz, ≥ 85 dB) and TMB12A24 (24 V, 18–26 V, ≥ 90 dB) both beep the moment the component is powered. No external signal is required for this kind of buzzer.
A passive magnetic buzzer such as the MEIDI HN-2512 (5/12 V, 800 ± 300 Hz, ≥ 85 dB) or a passive piezo part such as the HNR-2207 (12 V, 2000 ± 500 Hz, ≤ 3 mA) will stay completely silent on plain DC. These buzzers need a square-wave or PWM signal at the resonant frequency. If you connect a passive unit to DC and hear nothing, that is expected — drive the buzzer correctly and it should sound. This single mistake accounts for a large share of "my device is broken" reports.
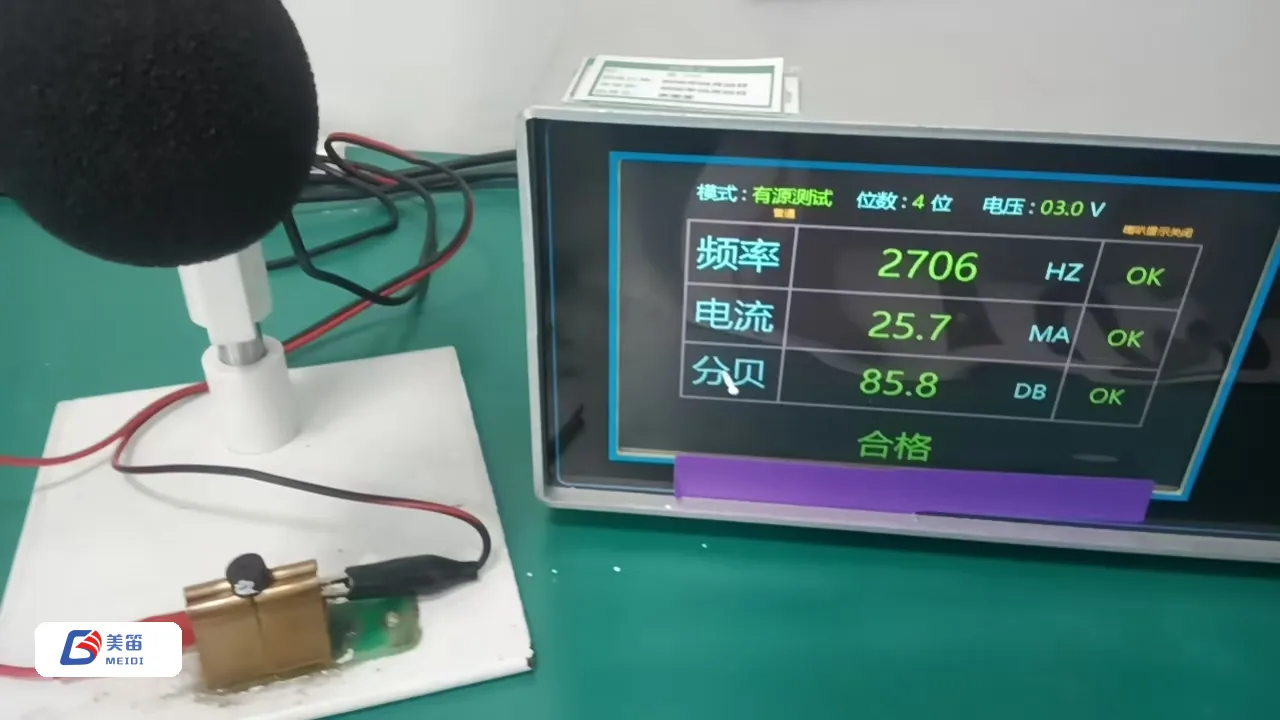
When the complaint about a component is tone or volume rather than silence, measure the driven signal with an oscilloscope and the loudness with an SPL meter at 10 cm. Confirm the buzzer frequency matches the resonant specification and the SPL meets the rated minimum. Enclosure acoustics matter: a part that reads 85 dB on the bench can measure lower once sealed into a small plastic shell, so test the buzzer in the real housing whenever possible.
The table below lists verified MEIDI buzzers with the values an incoming-inspection test should confirm. Use it as a quick reference when qualifying a batch of parts.
| Model | Type | Rated V | Operating V | Resonant freq | Current | What the test should show |
|---|---|---|---|---|---|---|
| TMB12A05 | Electromagnetic active | 5 V | 3–7 | 2400 ± 300 Hz | ≤ 30 mA | Beeps on DC; ≥ 85 dB @ 10 cm |
| TMB12A12 | Electromagnetic active | 12 V | 8–16 | 2700 ± 300 Hz | ≤ 30 mA | Beeps on DC; ≥ 88 dB @ 10 cm |
| TMB12A24 | Electromagnetic active | 24 V | 18–26 | 2400 ± 300 Hz | ≤ 30 mA | Beeps on DC; ≥ 90 dB @ 10 cm |
| HN-2512 | Electromagnetic passive | 5 / 12 V | 3–7 / 9–14 | 800 ± 300 Hz | ≤ 30 mA | Silent on DC; tone on PWM |
| HNB09A12 | Electromagnetic active | 12 V | 8–16 | 2700 ± 300 Hz | ≤ 30 mA | Beeps on DC; ≥ 85 dB @ 10 cm |
| HNT-9042-05 | Electromagnetic active | 5 V | 3–7 | 2700 ± 300 Hz | ≤ 30 mA | Beeps on DC; ≥ 85 dB @ 10 cm |
| HNR-1255PA5.0 | Piezoelectric passive | 5 V | 1–30 | 4000 ± 500 Hz | ≤ 10 mA | Silent on DC; tone on AC/PWM |
| HNR-1707 | Piezoelectric passive | 5 V | 1–30 | 4000 ± 500 Hz | ≤ 10 mA | Silent on DC; tone on AC/PWM |
| HNR-2207 | Piezoelectric passive | 12 V | 1–30 | 2000 ± 500 Hz | ≤ 3 mA | Silent on DC; tone on AC/PWM |
| MLT-8530-32R | SMD electromagnetic passive | 5 V | 4.5–6.5 | 2700 ± 300 Hz | ≤ 80 mA | Silent on DC; tone on PWM; reflow-rated |
The fastest way to avoid a wrong conclusion about a buzzer is to test each family by its nature. The comparison below mirrors how MEIDI incoming inspection separates the three kinds of device.
| Test property | Active buzzer | Passive magnetic | Passive piezo |
|---|---|---|---|
| Sounds on DC power | Yes | No | No |
| Internal oscillator | Yes | No | No |
| Multimeter signature | Finite coil ohms | Finite coil ohms | Capacitance (low nF) |
| Quick bench test | Apply rated V | Apply PWM signal | Apply AC/PWM signal |
| Typical current draw | ≤ 30 mA | ≤ 30 mA | ≤ 10 mA |
When a component fails, work through the likely causes in order. Wrong drive is first: a passive buzzer on DC is silent by design, so confirm the signal before rejecting the part. Next is over-voltage — exceeding the rated voltage can burn a coil or crack a ceramic, and that damage to the buzzer is permanent, so never test a unit above its maximum operating range. Reverse polarity will not usually destroy a buzzer but will keep it quiet, so check the polarity mark on the device. Finally, a poor solder joint or cold connection mimics a dead component; reflow or re-solder and retest the buzzer before disposal.
Start the buzzer diagnosis with continuity: an open circuit means reject the part. If continuity is good, apply the correct drive — DC for an active buzzer, PWM for a passive unit — and listen. Sound present means the buzzer is fine and the issue lies upstream in the circuit or firmware. No sound means measure resistance for a magnetic device or capacitance for a piezo component and compare to the datasheet; a wild reading confirms a bad buzzer, while a normal reading points back to the driver. This short loop resolves most part field calls without guesswork.
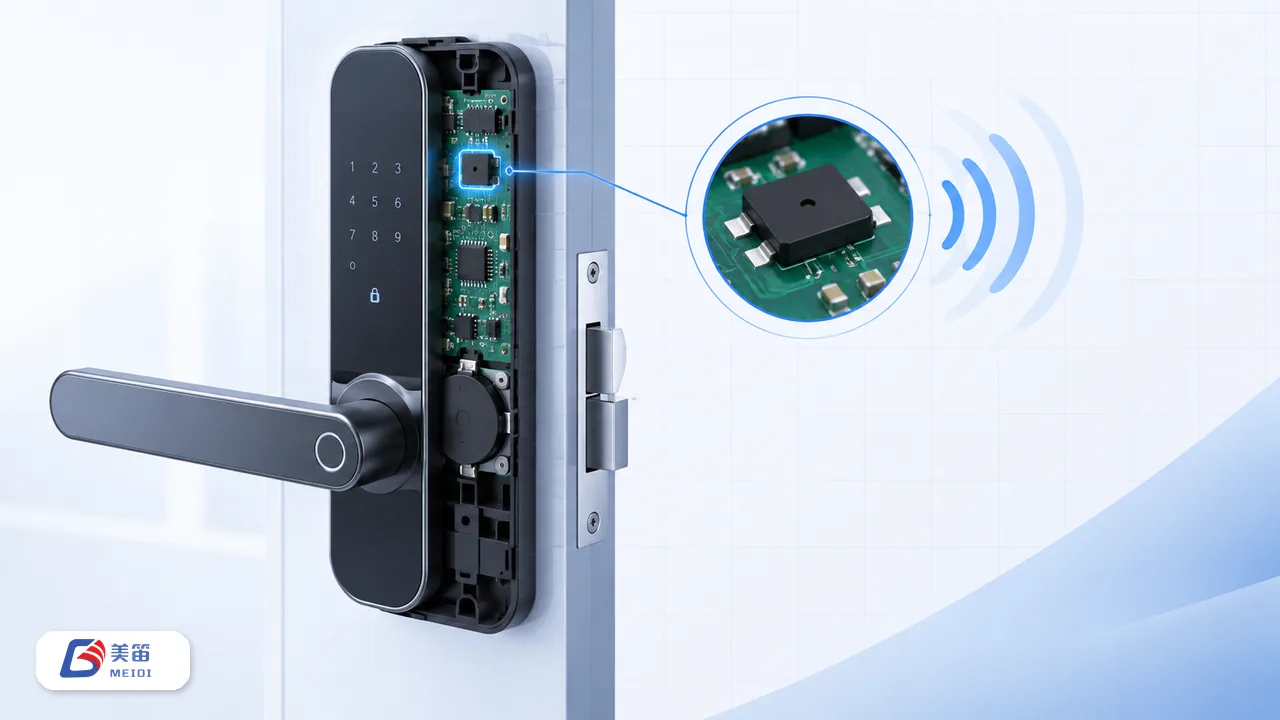
Keep the unit within its rated voltage at all times, because over-driving a buzzer is the most common way to create the very failure you are trying to detect. Use a current-limited supply so a shorted device cannot draw damage elsewhere on the board. For SMD buzzers such as the MLT series, handle the component with standard ESD precautions and follow the reflow profile from the datasheet, since a part damaged by heat will fail the sound test even when electrically intact.
Yes, for a basic pass or fail on a unit. Continuity tells you whether the internal circuit of the buzzer is intact, and a resistance or capacitance reading tells you whether the value is in the expected range. A multimeter cannot confirm tone, frequency, or loudness of the device, so follow up with a power-on test for anything beyond a quick incoming check.
Because the component has no internal oscillator. Passive magnetic and piezoelectric buzzers need an external square-wave or PWM drive at the resonant frequency. Connecting plain DC to a passive buzzer will not produce sound — that is normal for this kind of buzzer, not a defect. Drive the buzzer with the correct signal and it should respond.
A finite value in the tens of ohms, matching the equivalent resistance on its buzzer datasheet. Zero ohms in a magnetic buzzer indicates a shorted coil; infinite ohms indicates an open coil. Both mean the buzzer will not function and should be rejected.
Measure the capacitance of the buzzer and compare to the rated value; a large deviation suggests a damaged ceramic. The more decisive check for a piezo buzzer is an AC or PWM power-on test at the rated voltage — a good buzzer produces a clear tone, while a dead buzzer stays silent even with the correct drive.
You can confirm basic function of a buzzer — continuity, and sound under the right drive — without a datasheet, but you cannot verify that frequency, SPL, or current of the buzzer meet the original specification. Always keep the buzzer datasheet on hand for incoming inspection, and request it from the supplier when qualifying a new buzzer.
Every MEIDI buzzer is produced under an ISO 9001 / ISO 14001 quality system and shipped RoHS and REACH compliant, with lot-level testing behind each shipment. Request the specific SPL, frequency, and current test data for the buzzer together with the certificates when qualifying any model.