A buzzer that is technically "working" but too quiet to hear is one of the most common complaints in product design. The good news: in most cases you do not need a new part. You need to understand what actually controls buzzer volume, then fix the drive, the frequency, or the sound path. This guide walks through 8 proven ways to make a buzzer louder, from zero-cost firmware tweaks to circuit and enclosure changes, and shows real high-SPL buzzer models you can spec when the physics of your current part has run out of headroom.
In this guide: why a buzzer sounds quiet in the first place, 8 field-proven ways to increase buzzer volume ranked from free fixes to specification changes, a side-by-side comparison table, and a real spec table of MEIDI high-SPL buzzers from 90 dB up to 105 dB with voltage, frequency, current and size data.
Before changing anything, it helps to know that buzzer volume (sound pressure level, or SPL, measured in dB at a set distance) is a chain. The electrical drive sets how hard the diaphragm or ceramic element moves; the mounting and enclosure decide how much of that motion actually reaches the air; and the listening distance and background noise decide whether the result is audible. A weak link anywhere in the chain caps the final buzzer volume.
The four most common weak links, in the order we see them in the field:
Each of the 8 methods below fixes one of these links. Diagnose first, fix second — that order saves both time and parts.
Every passive buzzer has a resonant frequency — typically 2–4 kHz — where the diaphragm moves most efficiently. Drive it there and you get the rated buzzer volume for free; miss by a few hundred hertz and the same part can sound muted. This is the lowest-cost way to increase buzzer volume: read the resonant frequency from the datasheet, then set your PWM or tone output to match it. As a rough guide, a 2.7 kHz or 3.5 kHz rating is common for alarm-class piezo buzzers, and magnetic types often sit near 2.4 kHz. Sweep the frequency in 100 Hz steps and listen — the peak is obvious, and it costs nothing but firmware time. This single setting is responsible for more recovered buzzer volume than any other change on this list.
SPL rises with drive voltage, so bringing an under-volted buzzer up to its rated voltage is the first fix to try — and the most common buzzer volume repair we see on customer boards. Measure the actual voltage at the buzzer terminals with a multimeter; if a 12 V part only sees 7 V, fixing the supply recovers most of the missing buzzer volume instantly. Stay inside the rated working range from the datasheet — feeding 12 V into a 5 V buzzer does not make a louder buzzer for long, it makes a distorted one with a shortened life. For battery products, a falling rail quietly erodes buzzer volume as the pack discharges, so a stable supply matters as much as a high one.
Most MCU GPIO pins are limited to around 20 mA, which is not enough for an electromagnetic buzzer that wants 30 mA or more. Without a driver stage, the buzzer volume ceiling is set by the pin, not by the part. The standard fix is a single NPN transistor or N-channel MOSFET: the GPIO drives the base (or gate) through a 1 kΩ resistor, the buzzer sits between the supply rail and the collector (or drain), and the emitter (or source) goes to ground. For a magnetic (inductive) buzzer, add a flyback diode across the part to absorb switching spikes. This one component turns a weak click into a proper alert tone and is the most common buzzer-louder fix in embedded design. Piezo buzzers act like small capacitors, so a 10 kΩ bleeder resistor in parallel helps the element's capacitance discharge and keeps the buzzer sound crisp.
A piezo element is capacitive: it only makes sound while its stored charge is moving. A single-ended driver pushes charge in but never pulls it out efficiently. A push-pull or H-bridge driver swings both sides of the element, doubling the effective voltage across it. Doubling the voltage swing is worth up to about 6 dB in theory — typically a few dB in practice — which is a meaningful buzzer volume jump with no change of part. In practice this push-pull step is the easiest board-level upgrade for more piezo buzzer volume: some designers simply drive both piezo terminals from two GPIO pins and toggle them in opposite phase.
When the system only has a low-voltage rail (a single Li-ion cell at 3–4.2 V, or a 5 V bus) but the application demands a loud alert, a dedicated piezo driver IC with a built-in charge pump or inductive boost converter can generate 20–30 Vpp for the element. Industry parts such as the Diodes PAM8904E (charge-pump) and PAM8907 (inductive boost) exist exactly for this, and inductive boost has the advantage of holding SPL — and therefore buzzer volume — steady as the battery drains. This is how battery trackers and portable medical devices get a piercing alarm from a coin cell. It adds BOM cost, but for a battery product it is often the only way to reach 90+ dB buzzer volume.
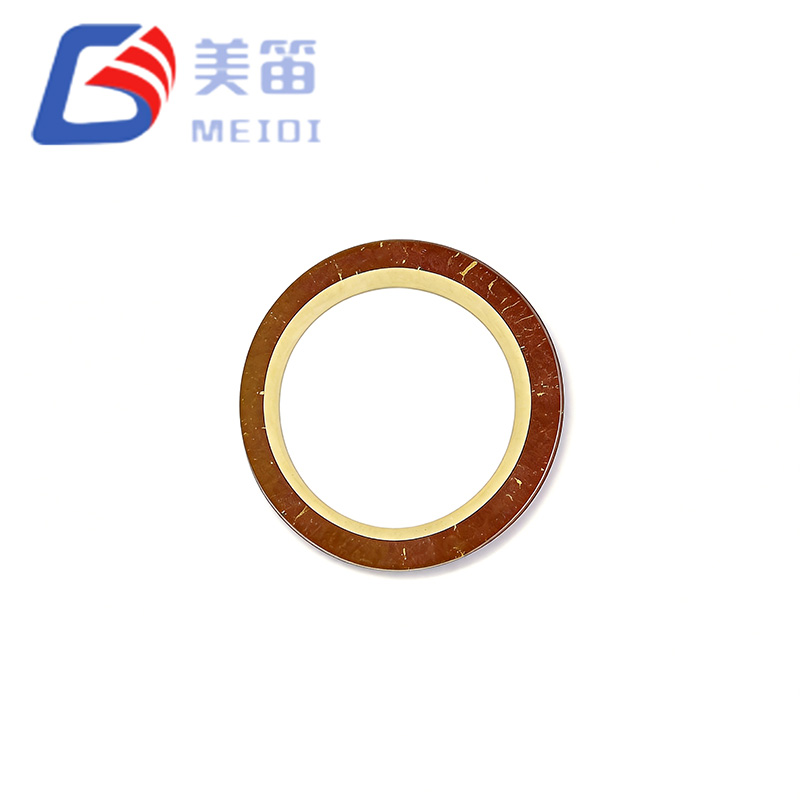
A bare piezo disc without a cavity often measures only around 50 dB at 10 cm — unusable for an alarm. The same disc mounted in a tuned resonant cavity can exceed 80 dB, and cavity design alone can swing buzzer volume by 10 dB or more. Three rules of thumb from acoustic design practice:
If the buzzer is loud in free air but quiet inside your product, the enclosure — not the buzzer — is the problem, and no electrical change will recover that lost buzzer volume.
Electrical and acoustic tuning recovers lost buzzer volume, but it cannot beat physics. If the design truly needs a louder alert, specify a louder part — choosing SPL first is how experienced buyers lock in buzzer volume without circuit heroics. Because dB is logarithmic, moving from an 80 dB buzzer to a 95 dB buzzer is not a small step: +10 dB is about twice as loud to the human ear, +15 dB is roughly three times. Specifying the right SPL at the start is usually cheaper than retrofitting a boost circuit later, and it removes the risk of over-driving a part that was never designed for it.
Active and passive buzzers respond to different levers. An active buzzer (internal oscillator) gets louder mainly through supply voltage and current headroom — simple, but fixed in tone. A passive piezo buzzer offers more control: drive frequency sets loudness through resonance, PWM duty cycle trims average level, and the voltage swing sets the ceiling. For battery products that must be loud, passive piezo plus a boost driver is the usual winning pair; for a simple panel alarm, an active magnetic buzzer driven at its rated voltage is the straightforward path to reliable buzzer volume. Picking the right type first avoids fighting the wrong physics later.
Use this table to match what you hear to the most likely cause, and start with the fix that recovers buzzer volume cheapest:
| Symptom | Likely Cause | First Fix |
|---|---|---|
| Faint click, no proper tone | Passive buzzer fed DC, or GPIO current too low | Drive with PWM at the resonant frequency through a transistor stage |
| Loud in free air, quiet in the case | Sound holes blocked or cavity untuned | Open holes to about 70% of diaphragm area and add cavity volume |
| Buzzer volume fades as the battery drains | Drive voltage falling with the supply | Stabilize the rail, or specify a wide working-range buzzer |
| Fine on the bench, weak in the field | Drive frequency off resonance | Match the PWM frequency to the datasheet resonant frequency |
| Distorted or harsh tone | Over-voltage drive | Bring the supply back inside the rated working range |
Every option trades cost, effort and risk for buzzer volume. The table makes the trade-off explicit so you can pick the cheapest fix that meets your target:
| Method | Typical Gain | Cost | Difficulty | Main Risk |
|---|---|---|---|---|
| 1. Resonant-frequency drive | Several dB | Free | Trivial | None |
| 2. Correct the supply voltage | Recovers rated SPL | Free | Trivial | Over-voltage if misapplied |
| 3. Transistor / MOSFET driver | Large (enables full drive) | <$0.10 | Easy | Missing flyback diode on magnetic types |
| 4. Push-pull (H-bridge) drive | Up to ~6 dB theoretical | Low | Moderate | Needs bipolar or dual-GPIO drive |
| 5. Charge pump / boost driver IC | 10+ dB possible | Medium | Moderate | BOM cost, layout sensitivity |
| 6. Enclosure and cavity fix | Up to 10–20 dB | Free–Low | Moderate | Requires mechanical redesign |
| 7. Higher-SPL model | +10 to +25 dB | Part-dependent | Easy | None |
| 8. Type change (active ↔ passive) | Design-dependent | Low | Easy | Code/firmware changes |
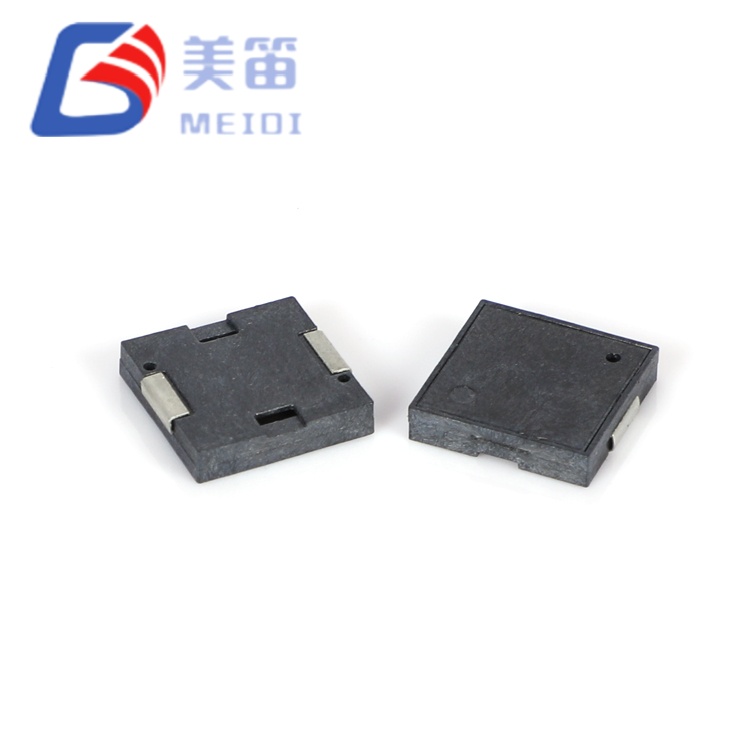
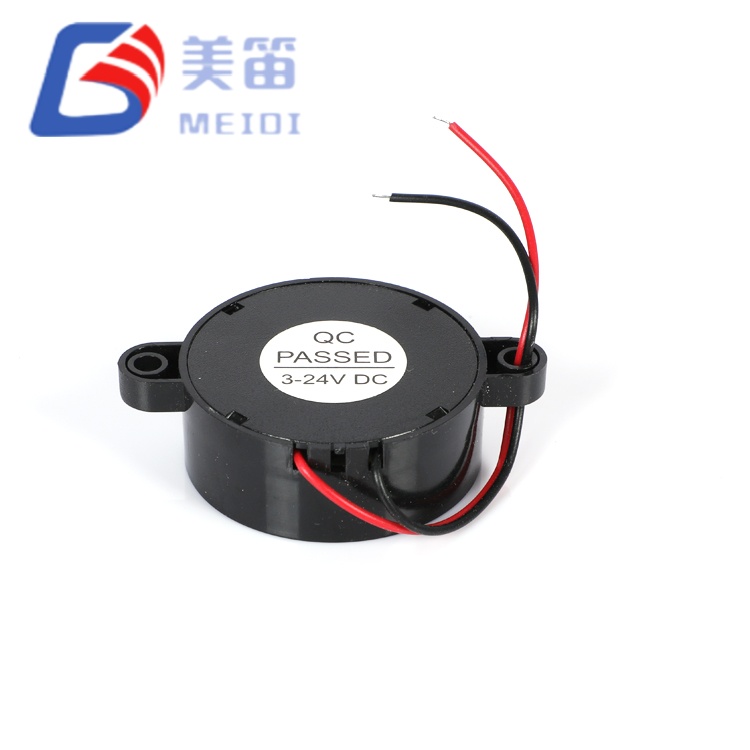
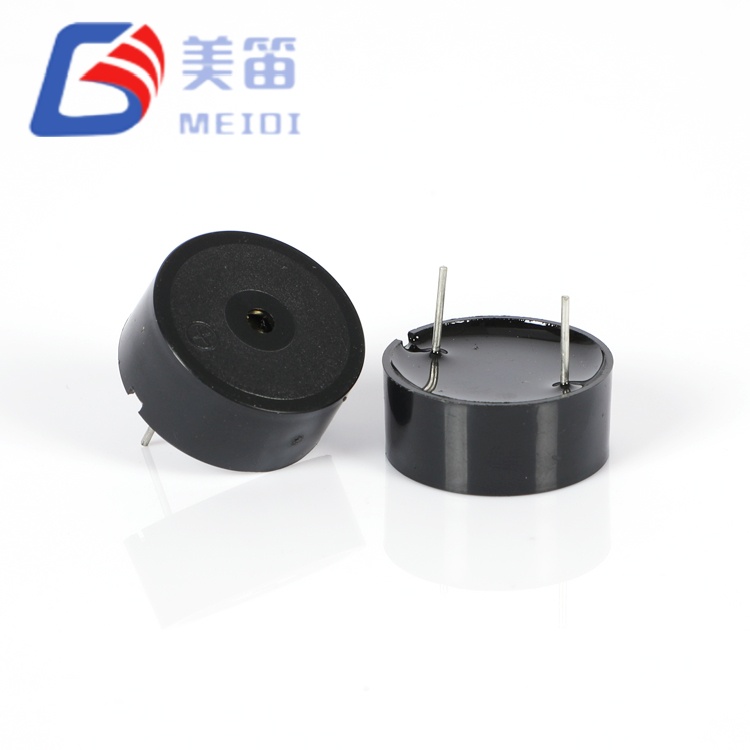
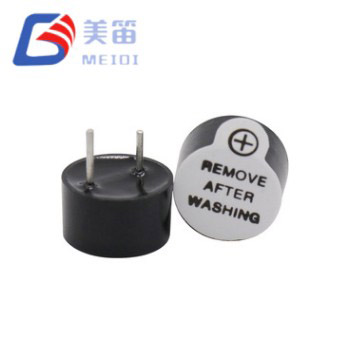
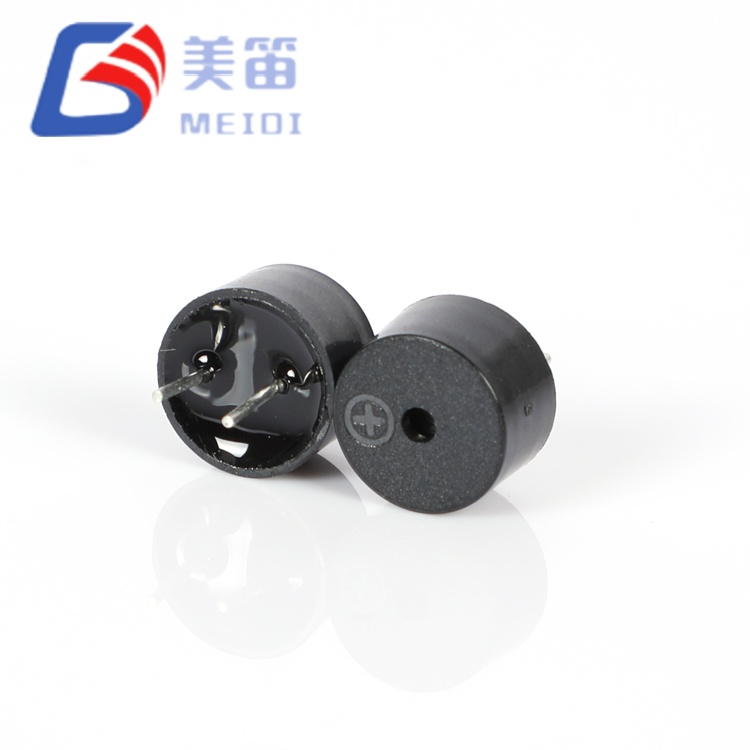
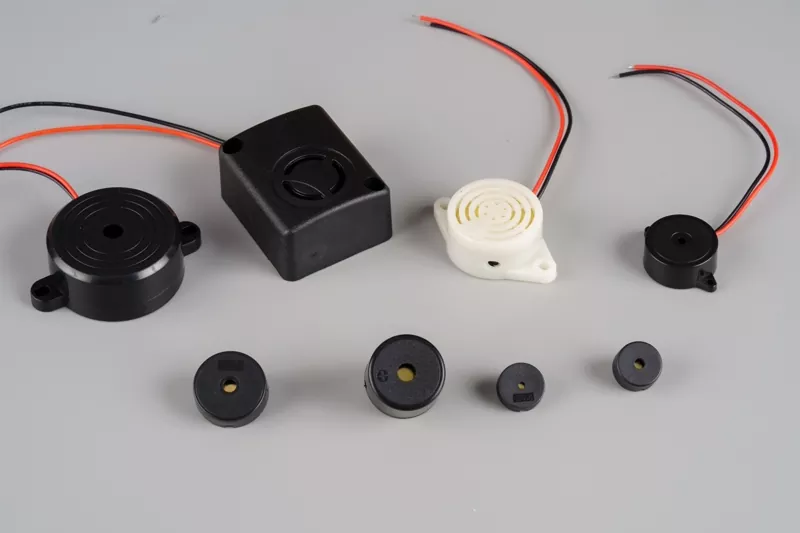
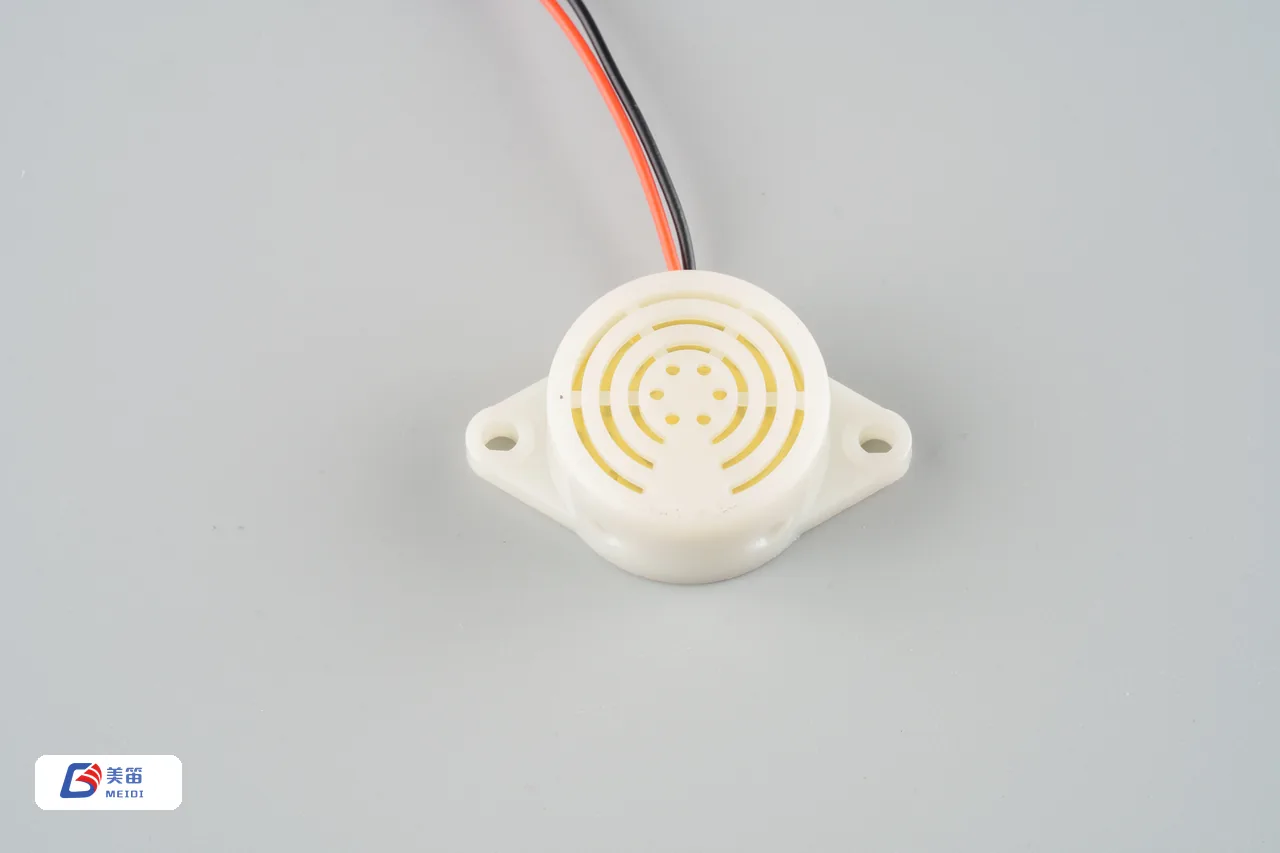 MEIDI high-SPL buzzers on the line — the models spec'd in the table below.
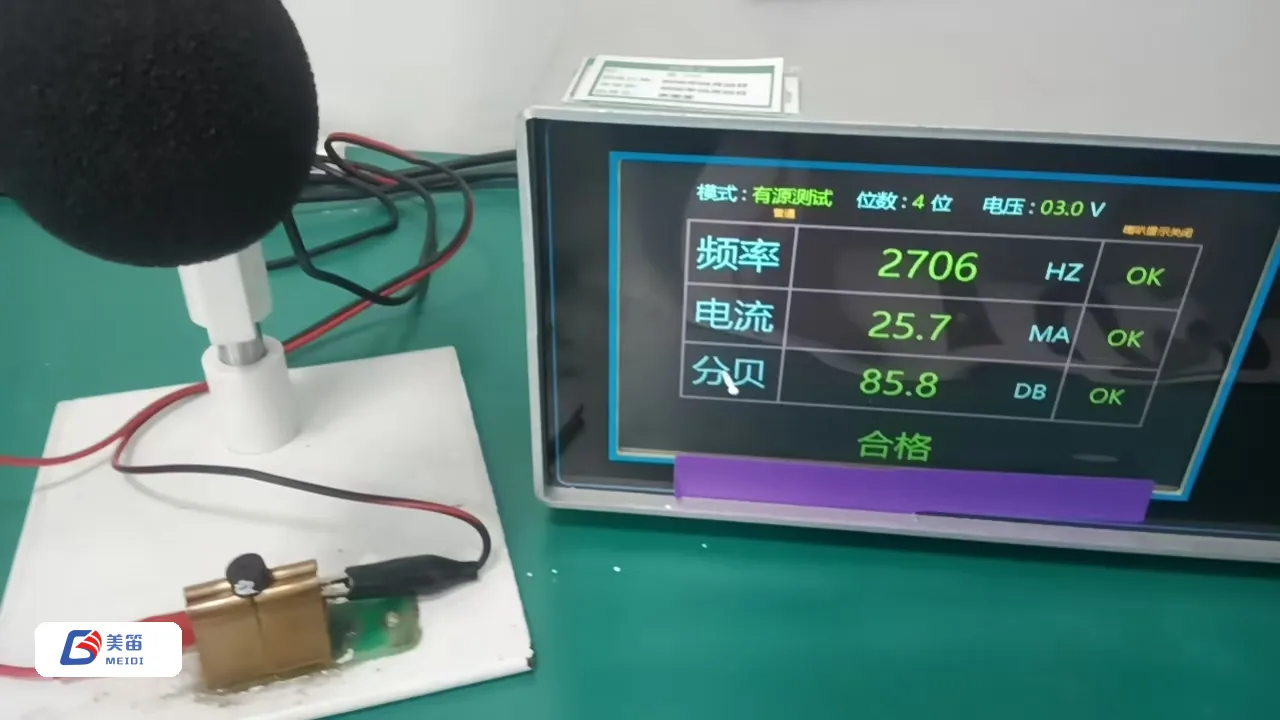
MEIDI (Jiangsu Meidi Intelligent Technology) builds electromagnetic and piezo buzzers in its group factory, which has manufactured acoustic components since 2011 and exported for 15 years, with ISO 9001 and ISO 14001 systems and RoHS / REACH compliant materials. Every unit is SPL-tested before shipment, so the rated buzzer volume in the datasheet is the buzzer volume you receive. Below are real models from the current line-up, sorted by buzzer volume (SPL at 10 cm):
| Model | Type | Rated Voltage | Working Range | Resonant Freq. | SPL @10 cm | Rated Current |
|---|---|---|---|---|---|---|
| HND-3025 | Active piezo | 24 V | 15–30 V | 3500±500 Hz | ≥105 dB | ≤30 mA |
| HND-3020 | Active piezo | 12 V | 5–15 V | 2800±500 Hz | ≥100 dB | ≤30 mA |
| HND-2495 | Active piezo | 12 V | 6–15 V | 3400±300 Hz | ≥100 dB | ≤30 mA |
| HNR-3920 | Passive piezo | 12 V | 5–15 V | 3400±500 Hz | ≥95 dB | ≤15 mA |
| HND-3095 | Active piezo | 12 V | 3–20 V | 3400±500 Hz | ≥95 dB | ≤12 mA |
| HND-2410 | Active piezo | 12 V | 6–15 V | 3500±500 Hz | ≥95 dB | ≤20 mA |
| TMB12A24 | Active magnetic | 24 V | 18–26 V | 2400±300 Hz | ≥90 dB | ≤30 mA |
For alarm panels and industrial controllers that must cut through factory noise, the 24 V HND-3025 at ≥105 dB offers the loudest buzzer volume in the standard line; for compact equipment, the TMB12A24 magnetic buzzer delivers ≥90 dB of buzzer volume from a 12 × 9.5 mm package.
Four patterns we see repeatedly in the field, each quietly destroying buzzer volume:
When a design review says "the buzzer is not loud enough," work through these steps in order and stop when the buzzer volume target is met:
This order matters: it spends zero-cost fixes before BOM-cost fixes, and it protects part reliability by keeping every electrical change inside the rated working range.
The usual suspects, in order: the supply voltage is below rating, a GPIO pin is current-limited so the drive stage is weak, the drive frequency misses the resonant frequency, or the enclosure blocks the sound path. Measure the terminal voltage, check the driver stage, and sweep the drive frequency before replacing the part — checking these four in order usually recovers the missing buzzer volume without a redesign.
Yes — SPL rises with drive voltage, which is why correcting an under-volted supply is the first fix. But the gain stops at the rated working range in the datasheet. Beyond it, the buzzer sounds harsher, runs hotter and dies sooner, so the reliable way to get more buzzer volume from higher voltage is to choose a part rated for that voltage.
Not safely. Over-voltage shortens life and can distort the tone. If your rail is higher than the buzzer rating, either add a regulator or pick a wide-range part — choose a wide-range part instead — some passive piezo buzzers are rated at 5 V yet accept up to 24 V, so they run directly on a 12 V rail while holding their rated SPL.
To human hearing, +10 dB is roughly twice as loud. That is why moving from an 80 dB buzzer to a 95 dB buzzer is a dramatic change in perceived buzzer volume, and why small dB gains from resonance matching or a push-pull driver are worth chasing before a redesign.
Neither type is automatically louder — the ceiling depends on the specific model. Passive piezo buzzers offer the most tuning freedom (frequency, duty cycle, voltage swing, boost driving), so they usually win in demanding alarm designs. Active magnetic buzzers are simpler and give dependable buzzer volume with a straight DC supply, which suits panel alarms and appliance alerts.
A quiet buzzer is rarely a defective buzzer. In most designs the buzzer volume is capped by drive voltage, drive frequency, current capability or the enclosure — and the first three of those cost nothing to fix. Work through the 8 methods in order, respect the rated working range, and let the enclosure do its share of the work. Treat buzzer volume as a system property — drive, frequency, path and part — and loud alerts stop being a matter of luck. When the physics runs out, specify a louder part instead of over-driving a quiet one: the MEIDI line covers 90 dB to 105 dB at 10 cm with full datasheet parameters, samples in one to two weeks, and every unit SPL-tested at the factory.